Cargo Bike Running Boards
25 May 2021
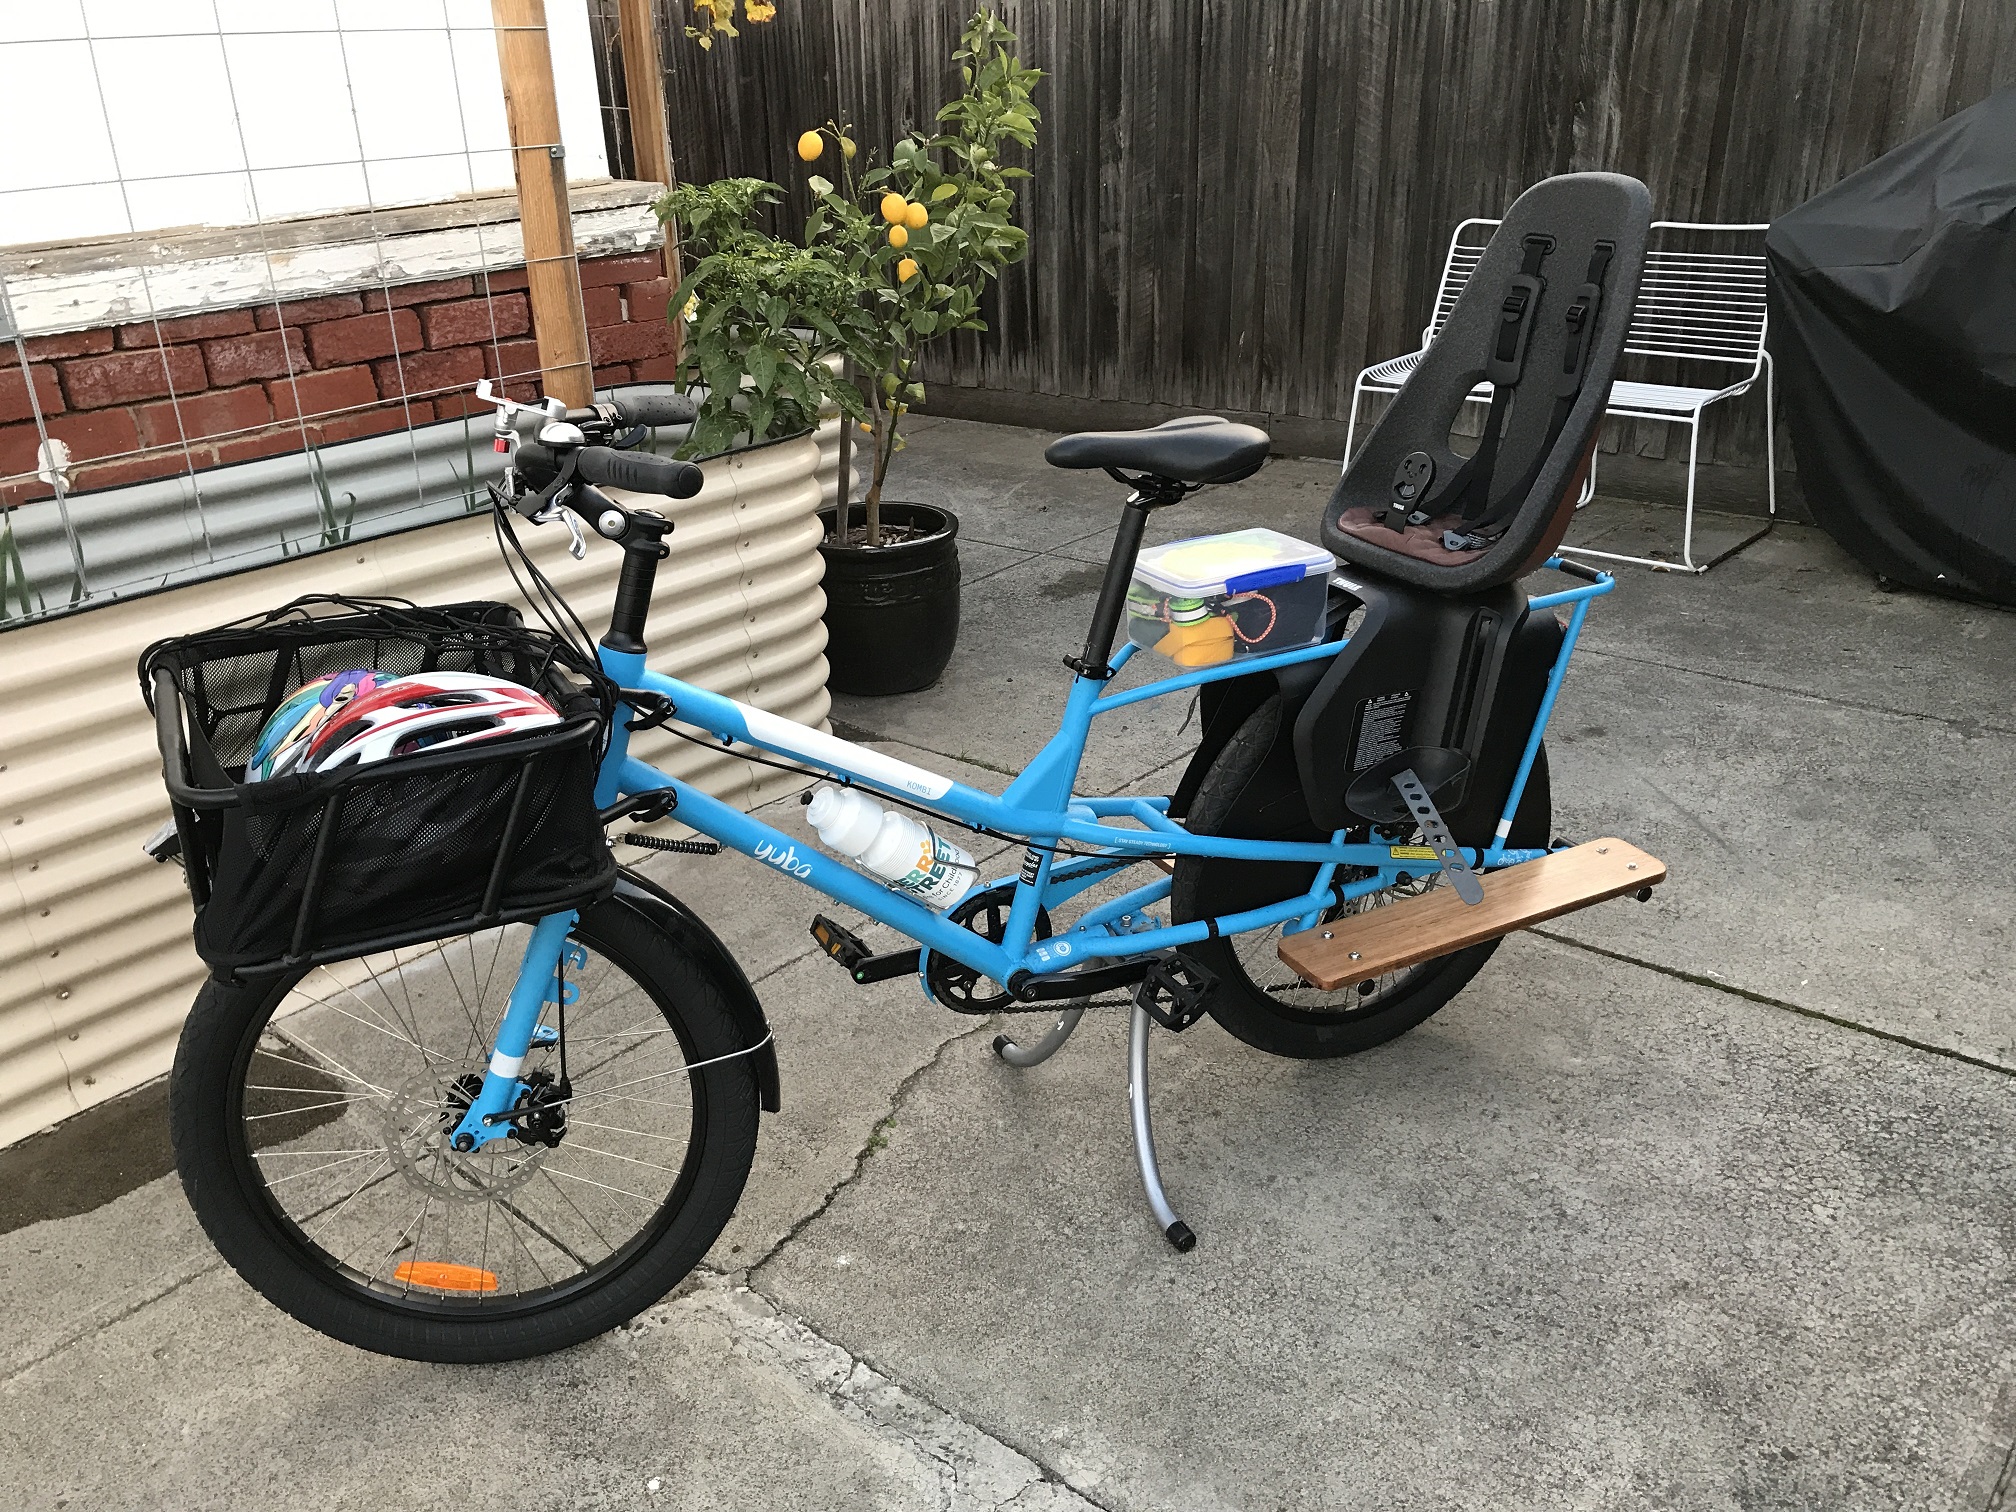
Several weeks ago, we bought a small cargo bike; specifically, a Yuba Kombi. The idea is that it'll allow us to get rid of one of our cars for transporting our kid to childcare and, next year, primary school. All three of us are loving it - it's heaps of fun to ride, even in the Melbourne rain, and it can easily carry a wriggly four-year-old plus a week's worth of groceries. Not bad for one of the smaller bikes of its species!
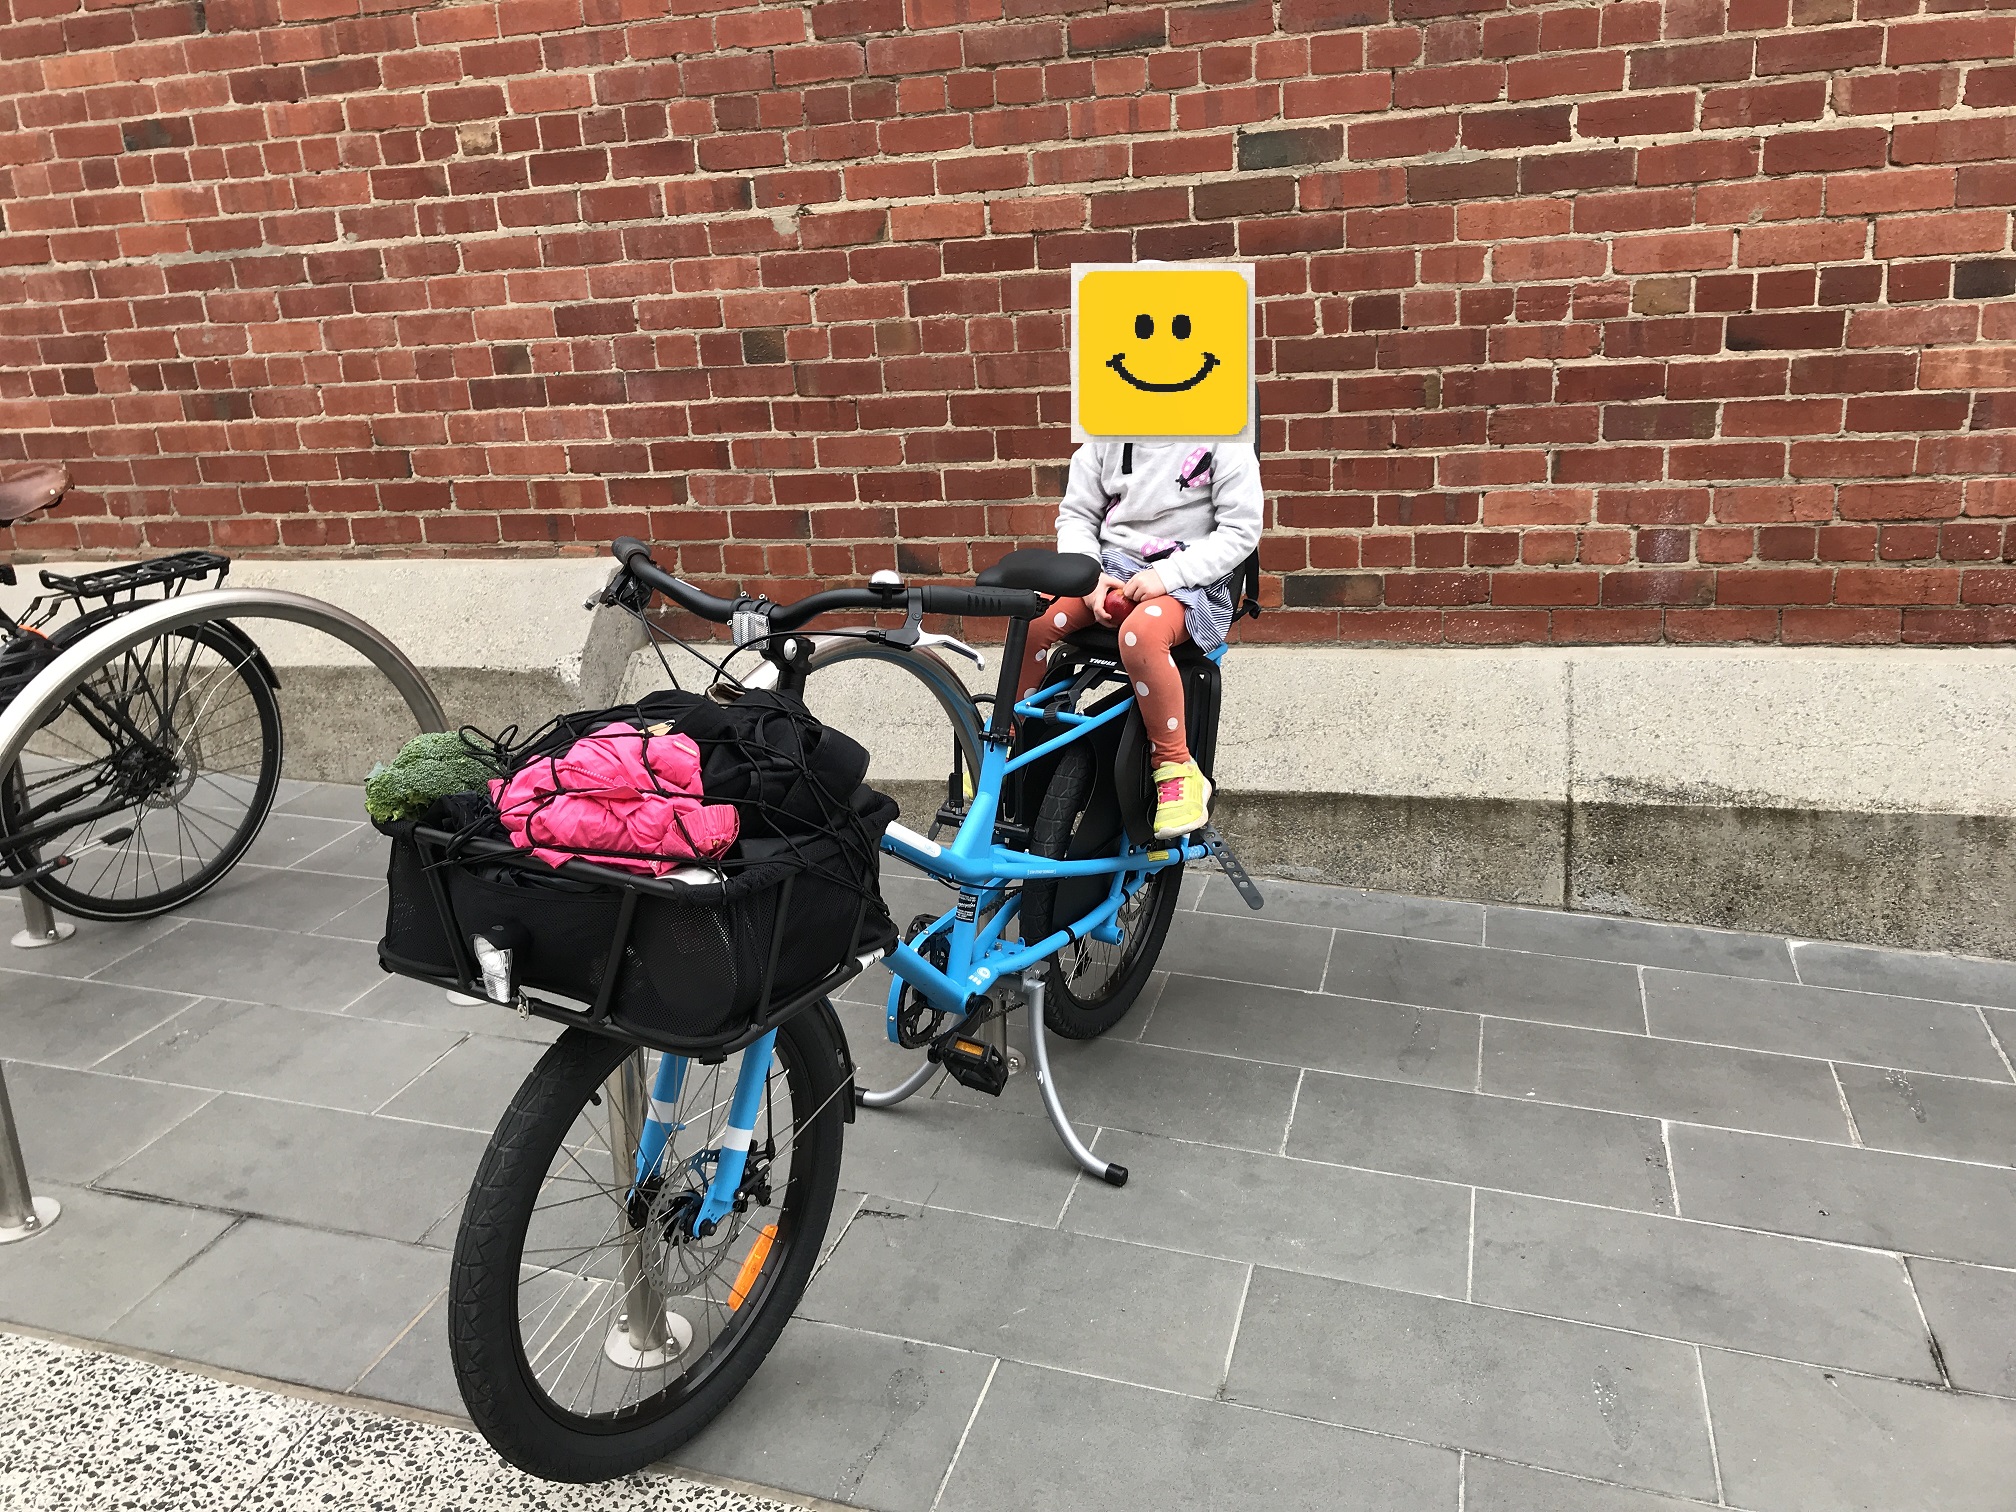
When we did a test ride, our kid was able to sit comfortably on a cushion on the rear deck, holding on to some fixed bars; but I bought a strap-in child seat anyway, for a bit of added security coming home from childcare after a long day. The shop has a good initiative where they hire out the seat for six months, and then you can give it back and they keep about half the price as a hire fee. So we'll be handing it back soon and getting some monkey bars, but I reckon I can DIY the other accessories, and save a few hundred dollars! We'll need:
- Running boards/sideboards: For resting feet on, and for supporting heavy loads that can be held to the bike with straps.
- A top deck: For putting cushions on.
- Cushions: These need to be comfortable for a range of bums; able to be attached securely to the bike, but quickly removed to allow for cargo hauling; and, ideally, rain-proof.
I decided to tackle the running boards first, so there'll be a follow-up article about the seating arrangement.
DIY Yuba Kombi Running Boards
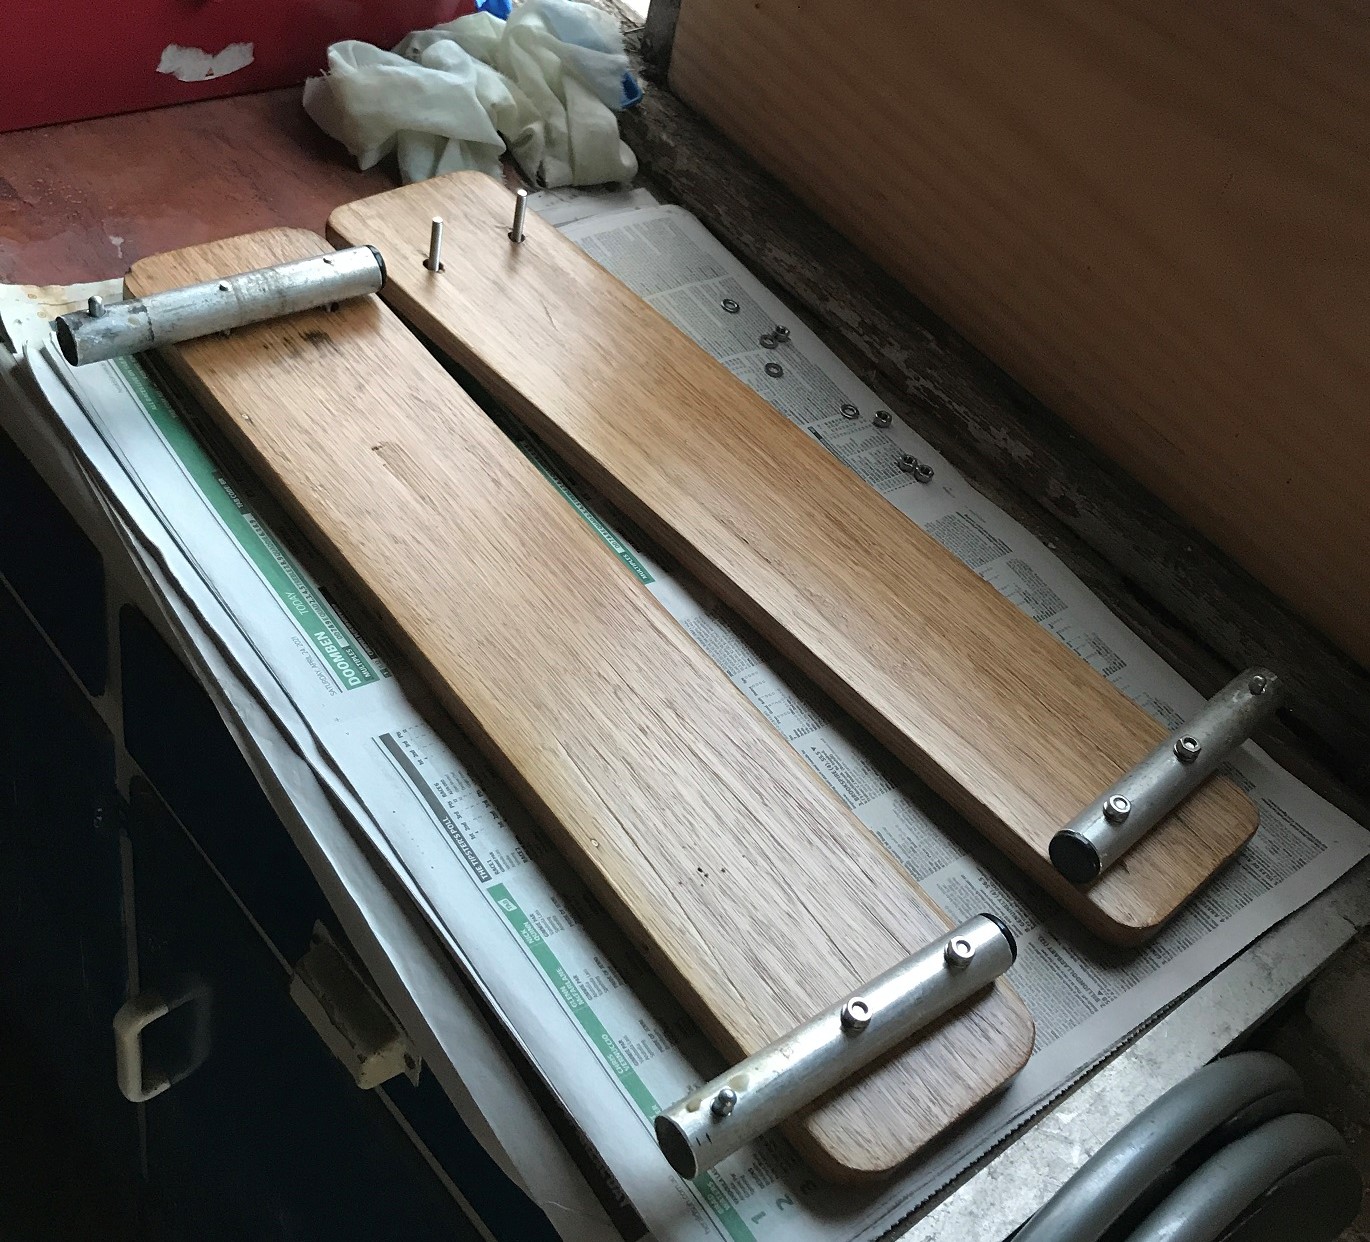
The branded versions of these looked pretty straightforward - they're basically a rectangle of bamboo ply, bolted onto two 25mm tubes that slot into the existing holes in the Kombi's frame and are held in by a spring button.
As luck would have it, I already had just enough 25mm tubing, in the form of some aluminium legs I'd chopped off an old Weber kettle grill my neighbor gave me, to turn it into a fire pit. I just had to hacksaw them down to size.
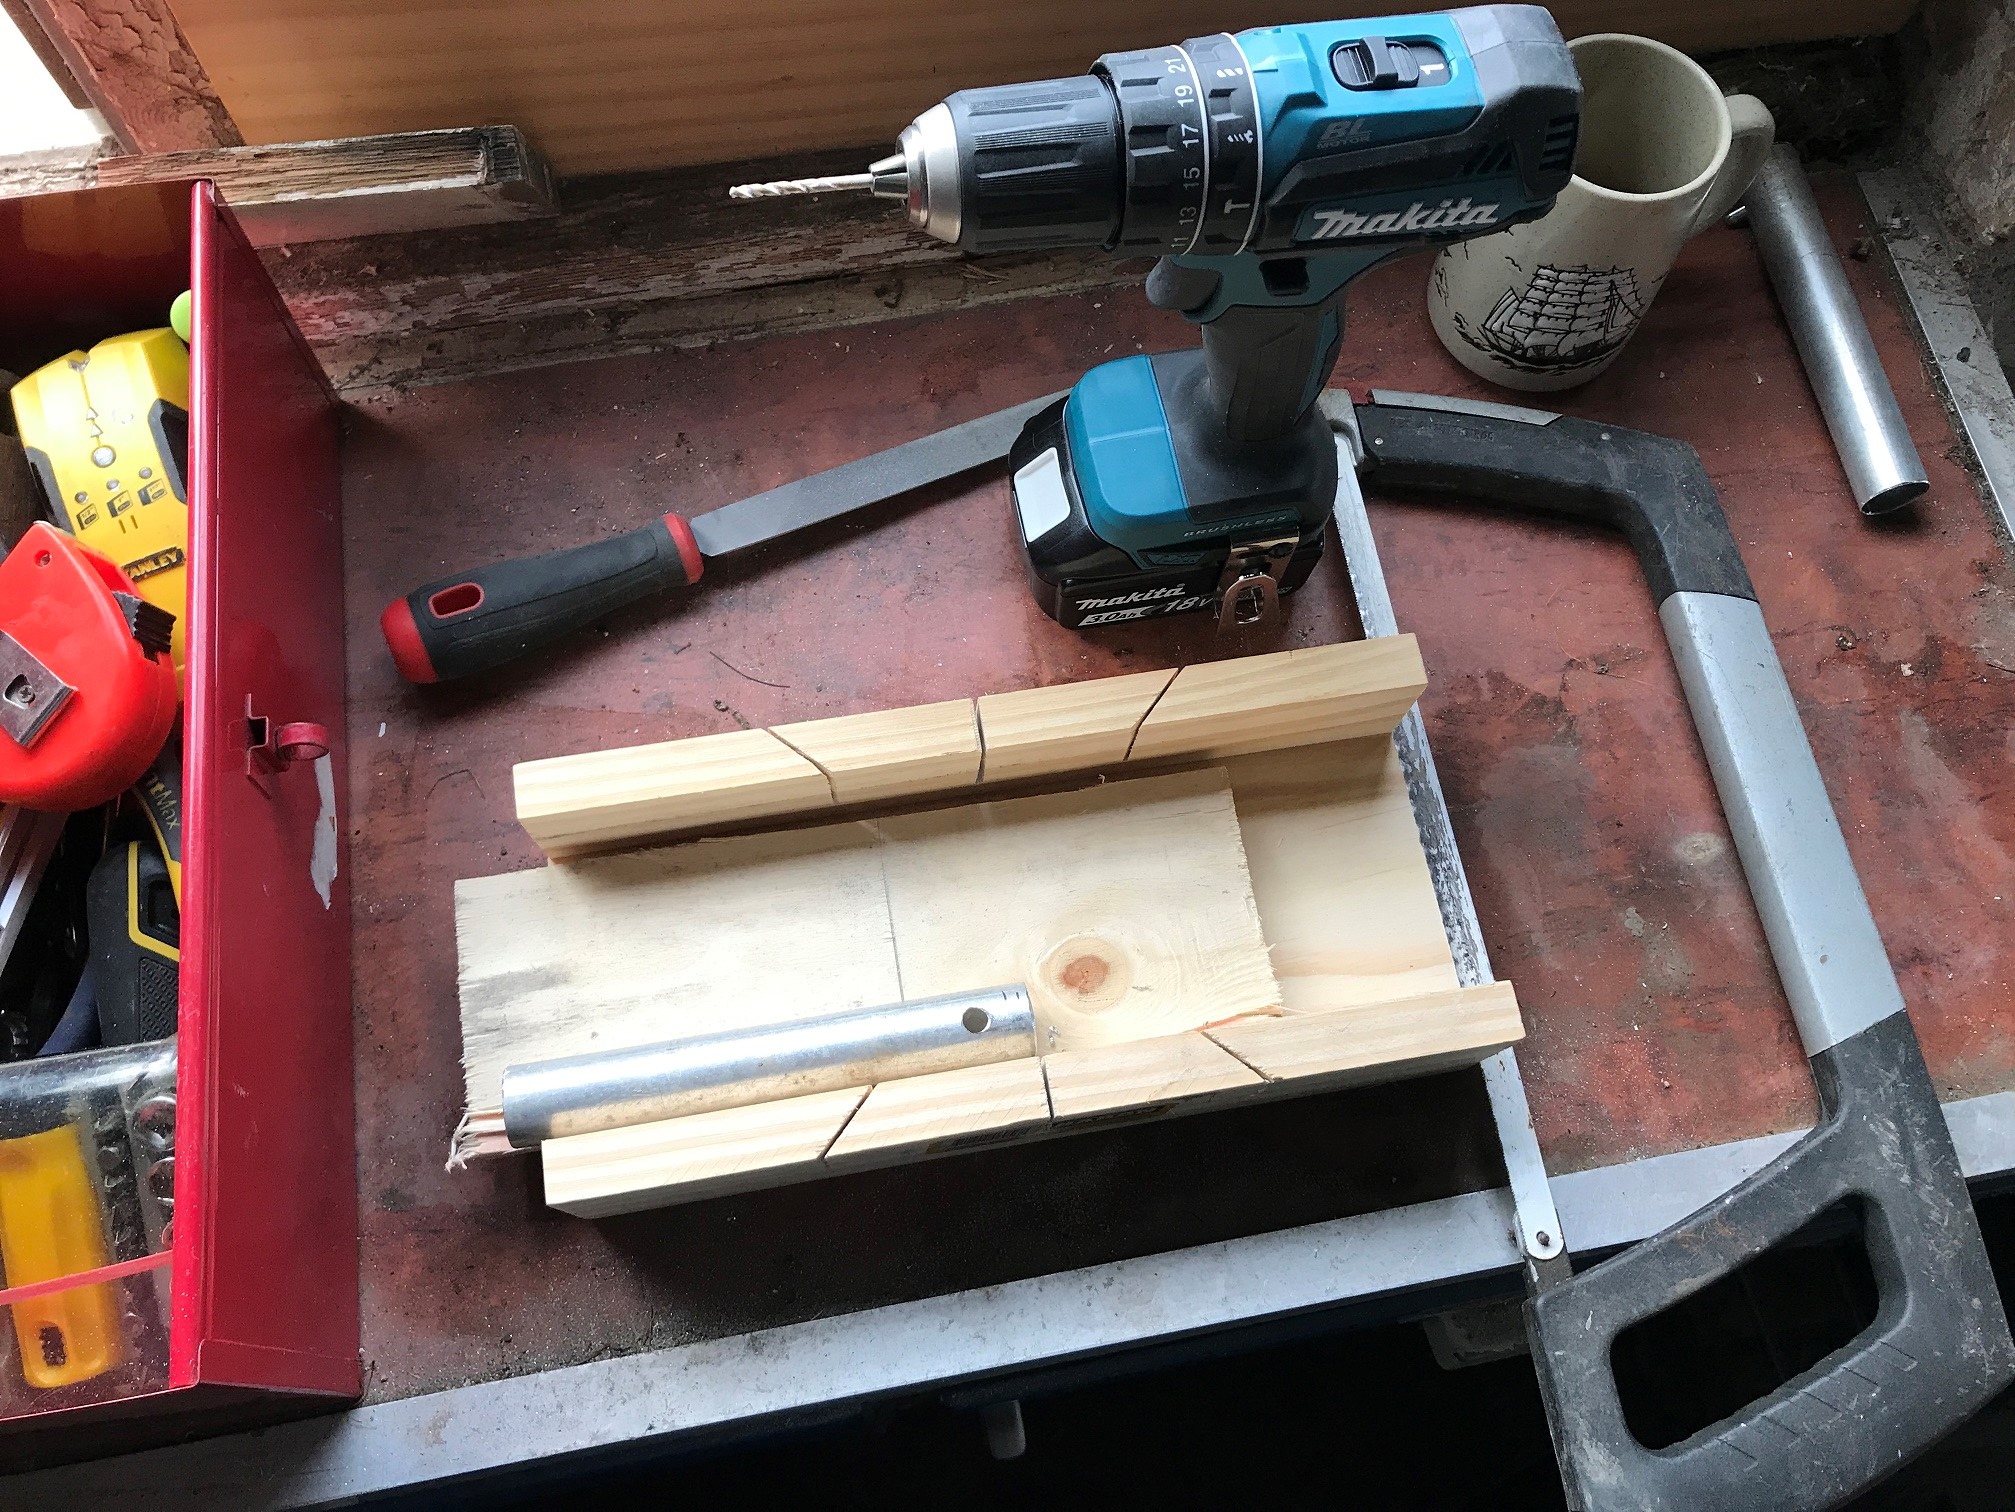
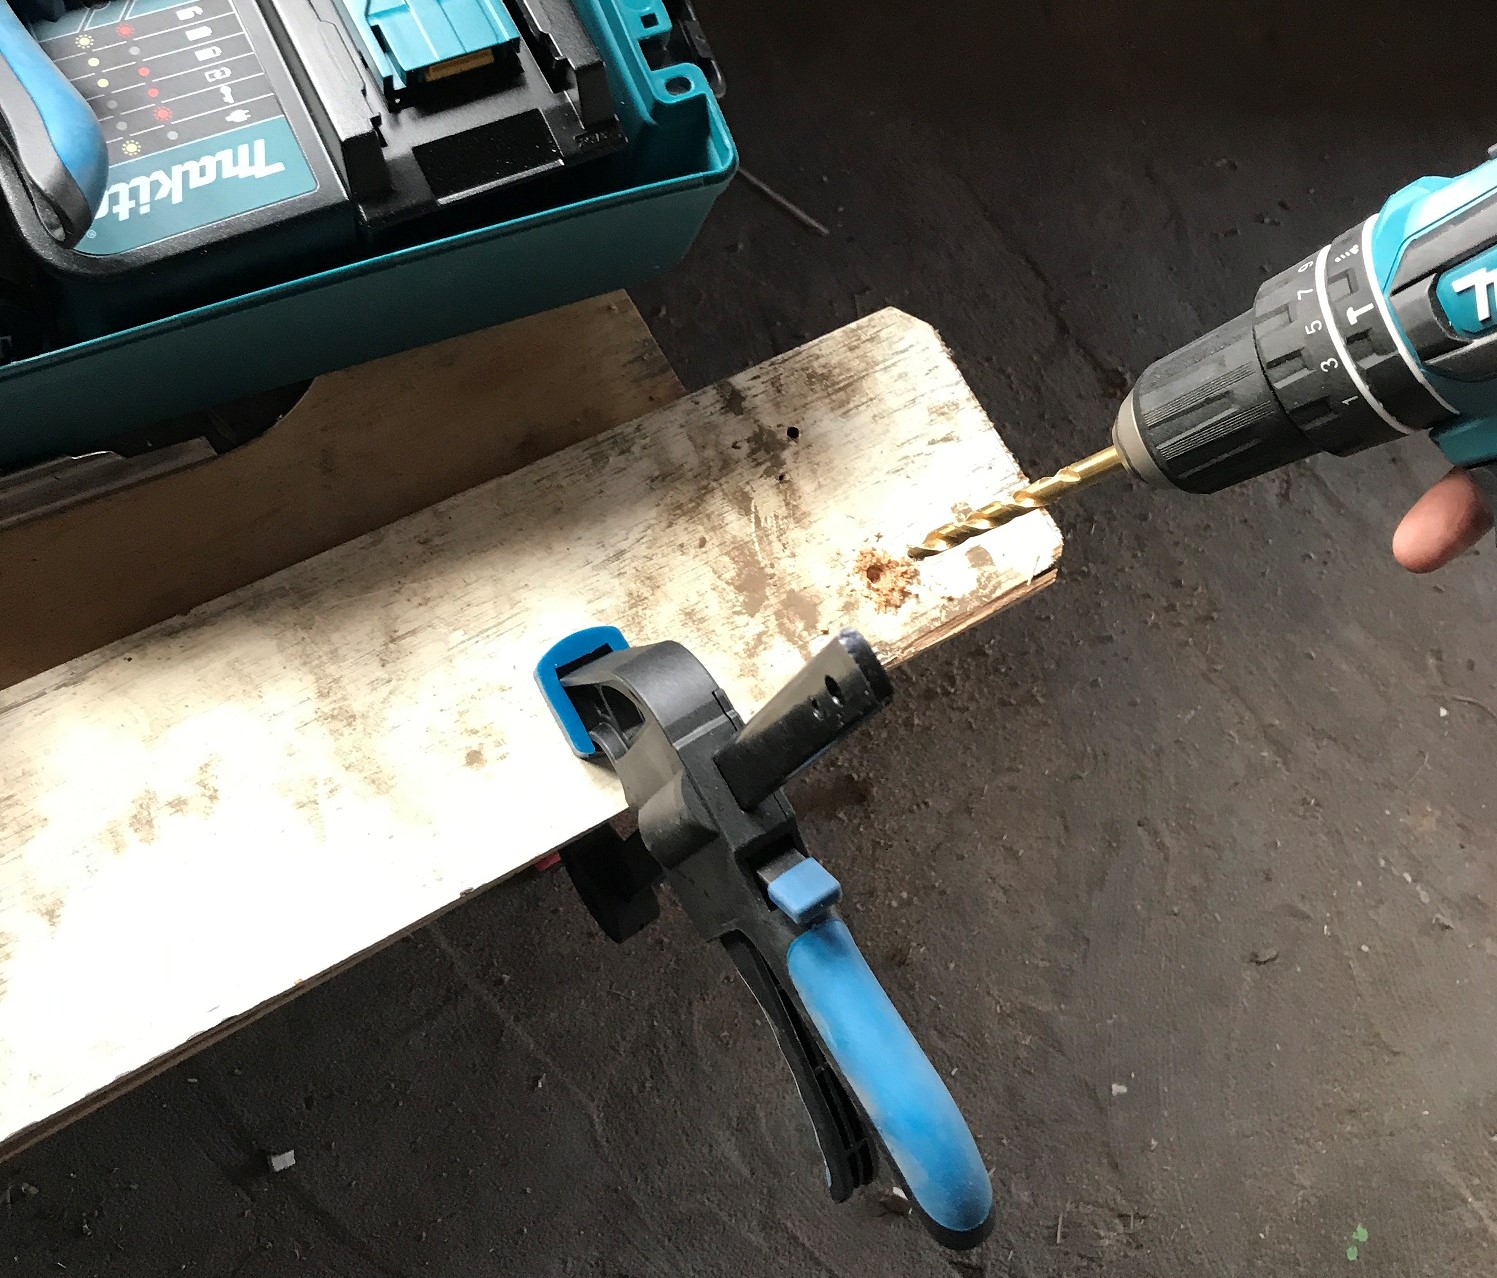
Next, I drilled holes for the spring clips (I couldn't find any of these lying around, so I paid $18 for a 5-pack on eBay).
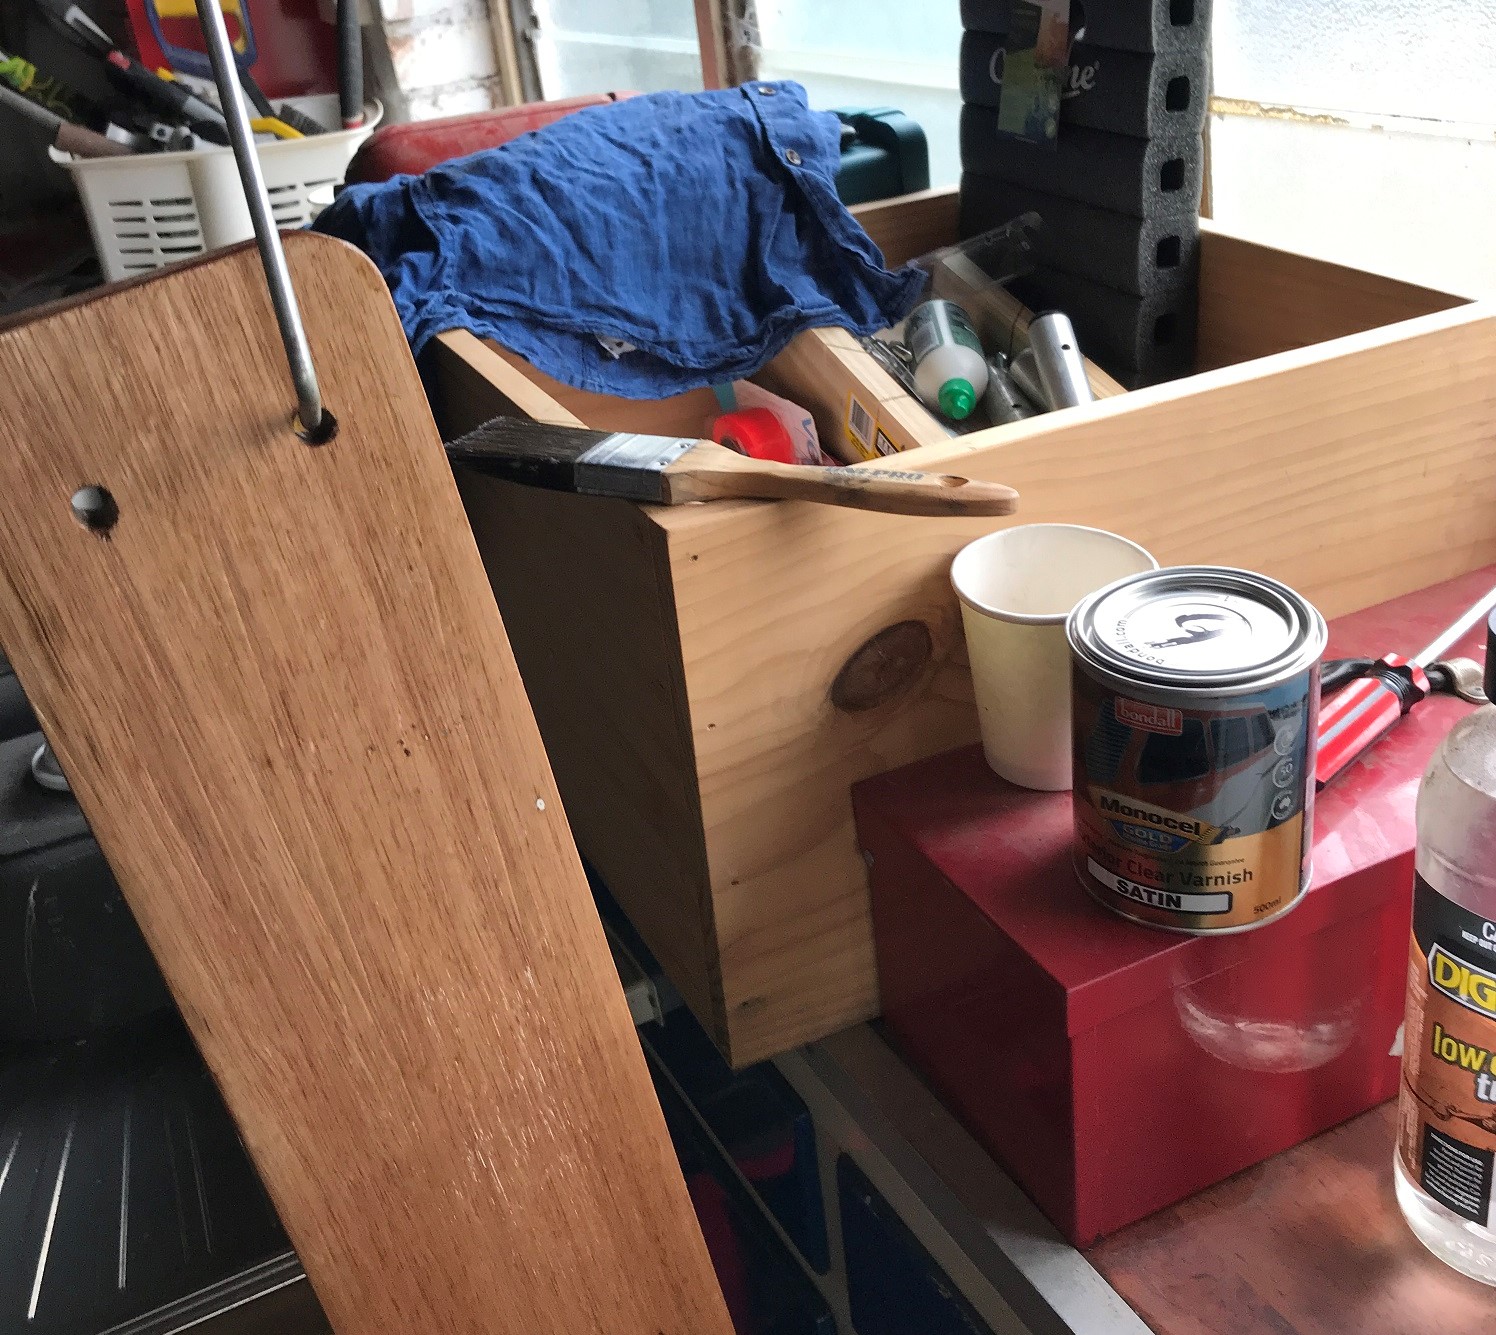
For the body of the sideboards, I used an old shelf I'd removed from the garage that seemed like a good width. I roughed out two lengths, then sat them on the tubes to mark out where the bolt holes would go.
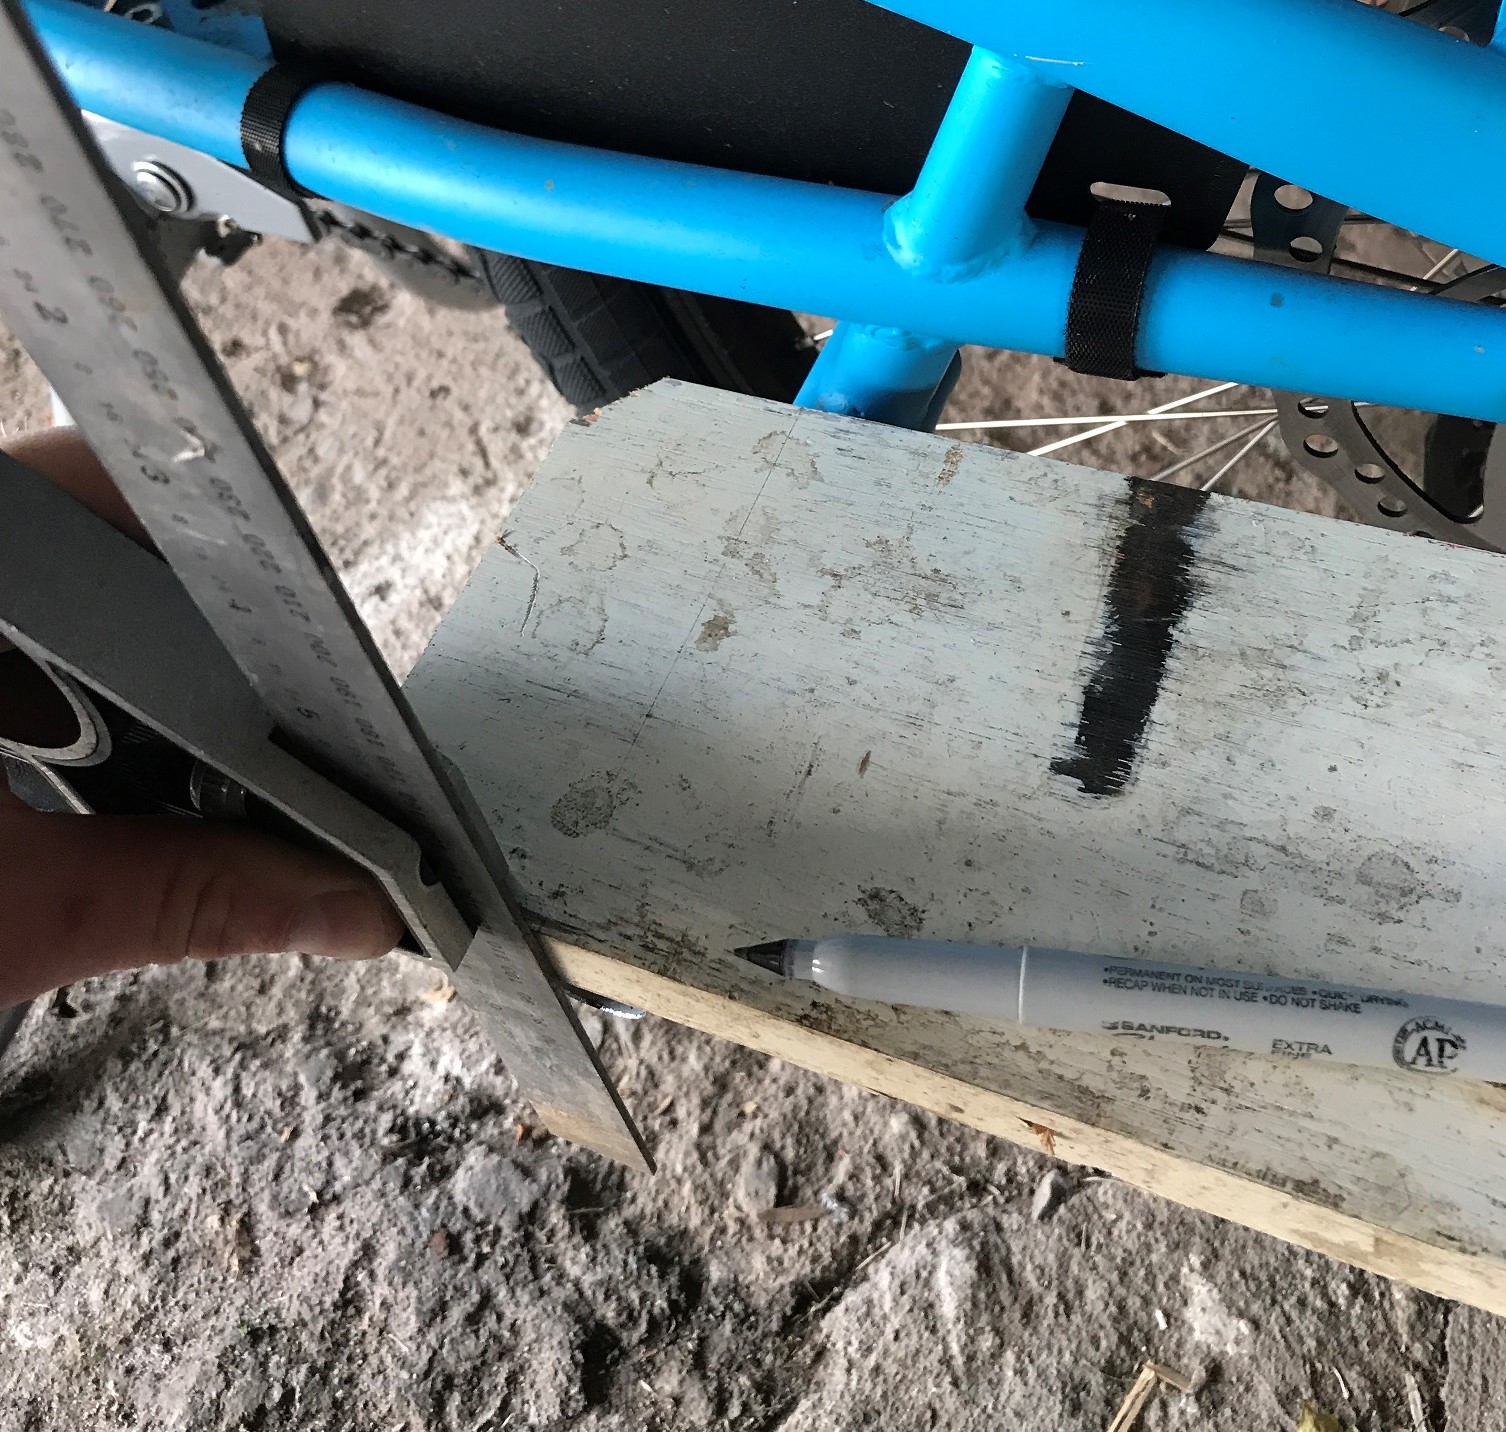
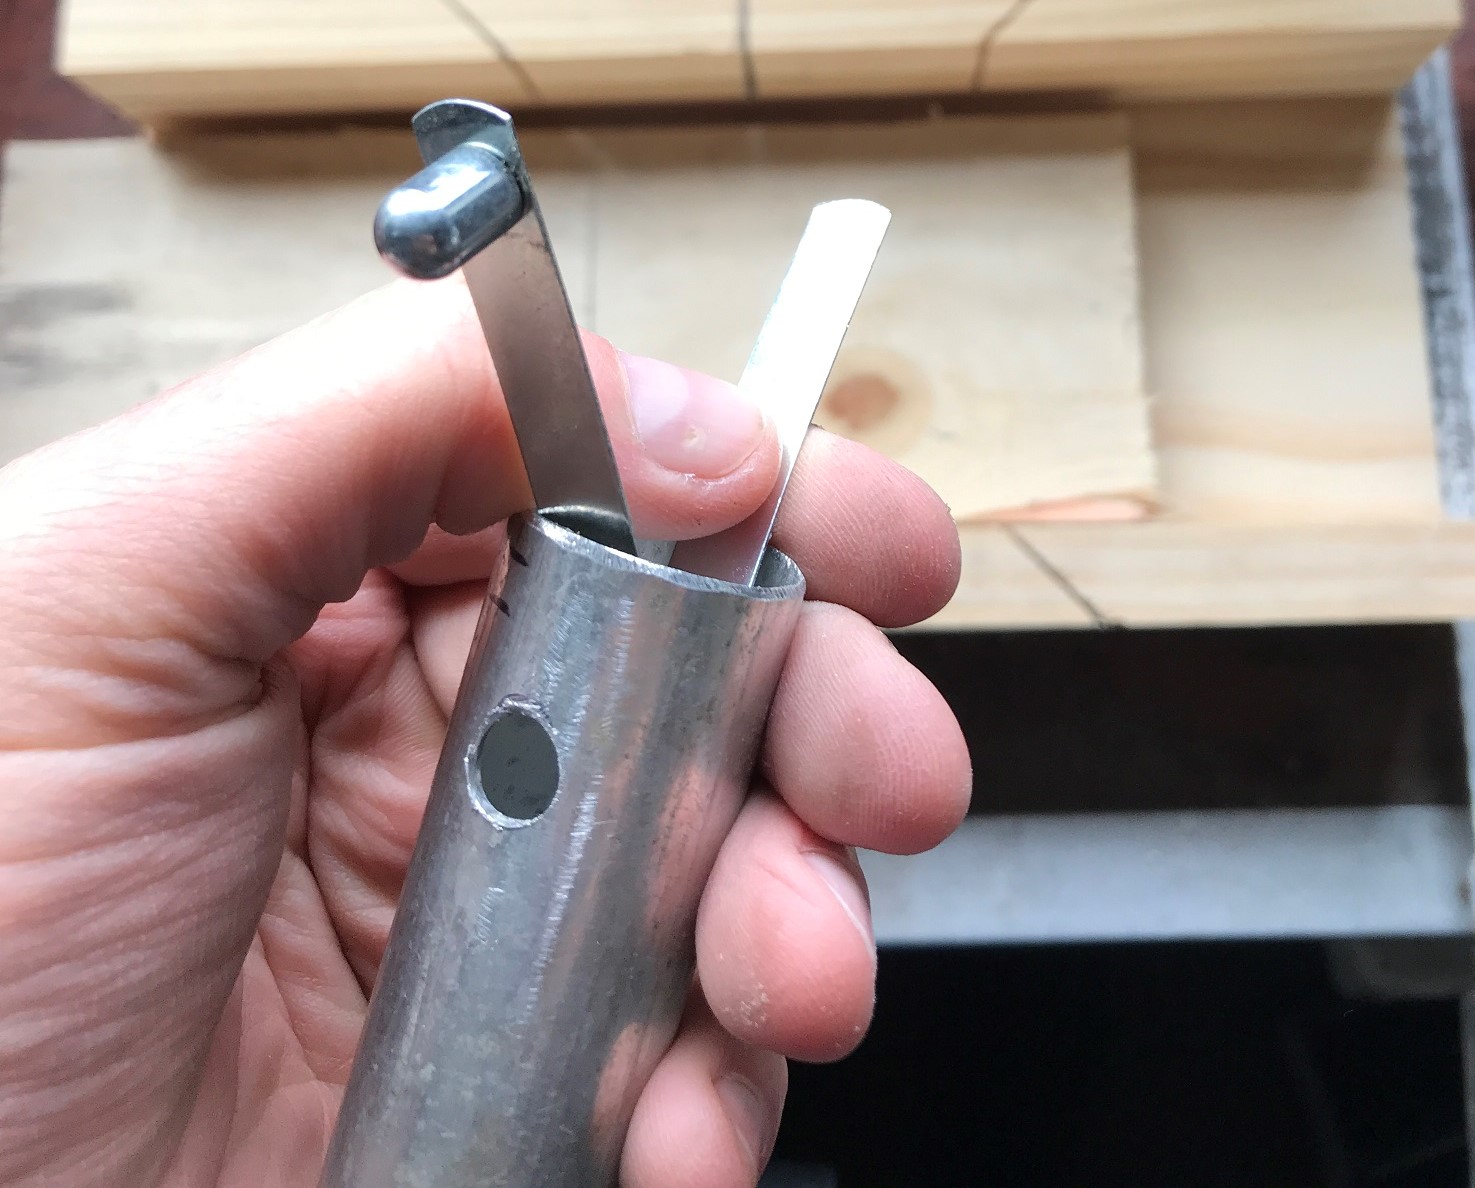
The most challenging part of the build was drilling accurate bolt holes through the aluminium tubes without a drill press, vise, or any other proper tools. I did an okay freehand job of this with the help of a few clamps. Well, you don't see this part once it's on the bike.
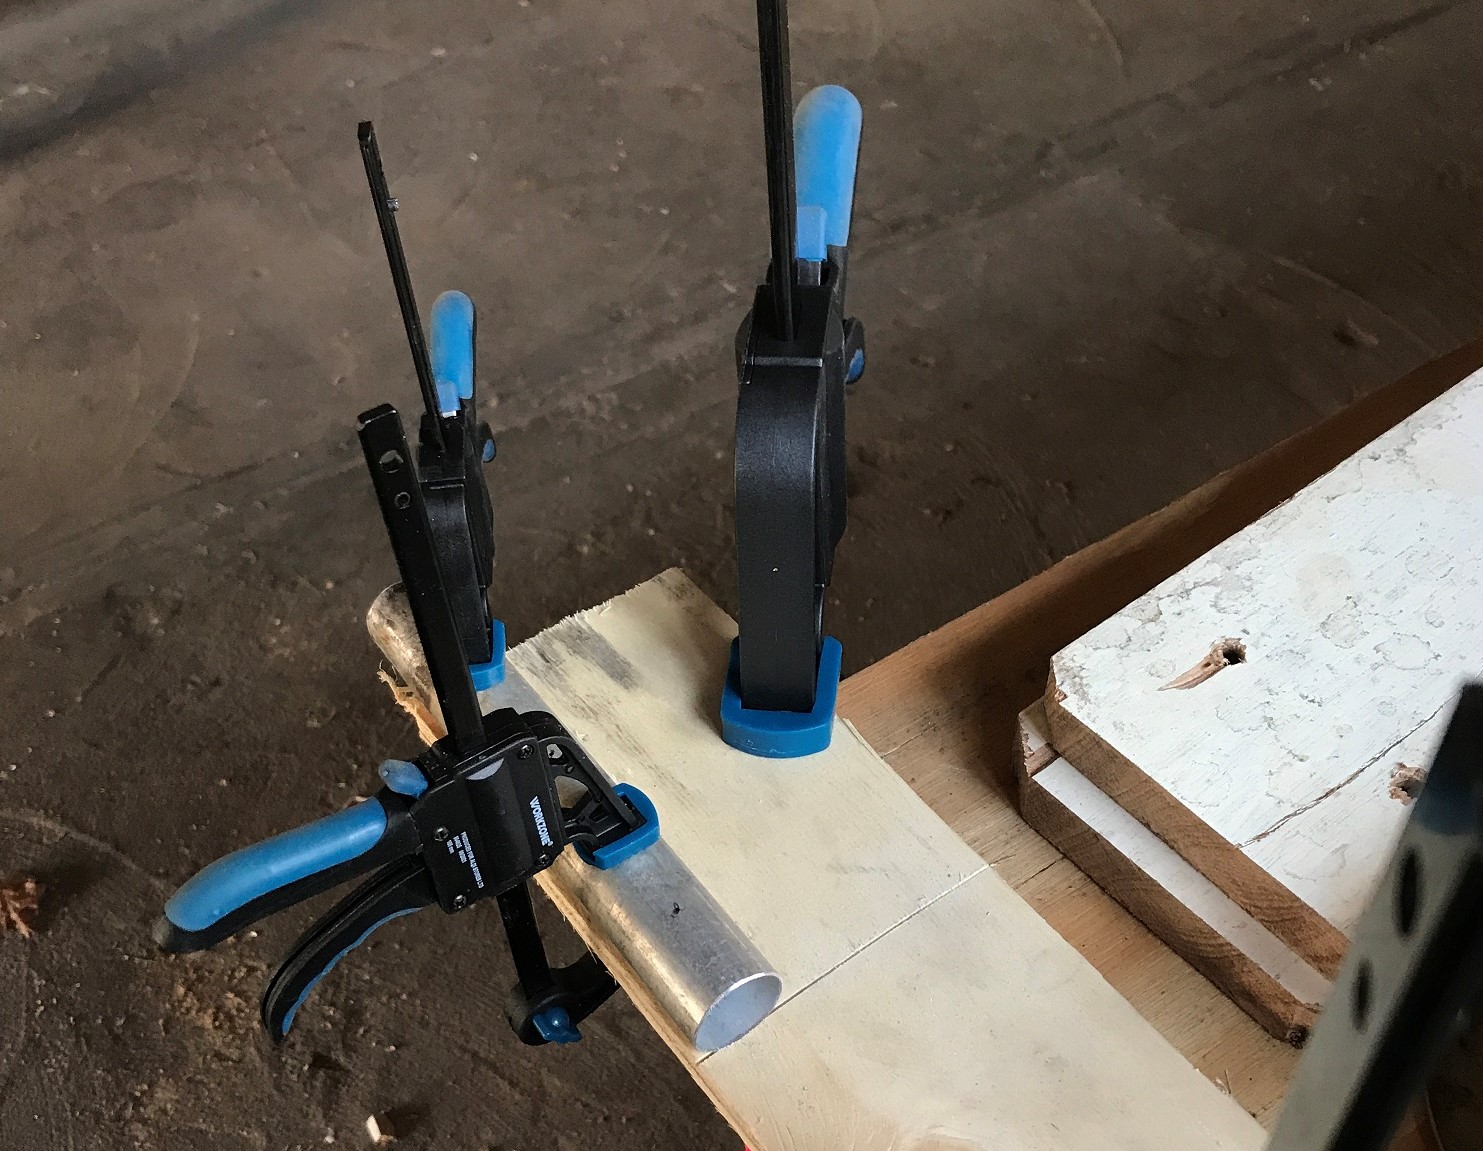
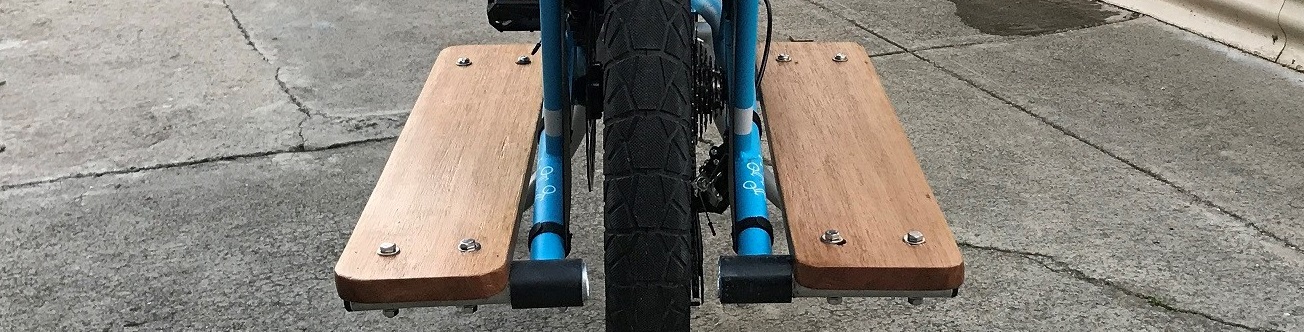
Put one of the running boards together - it wasn't too wonky.
Now came the most time-consuming part: Scraping off the old paint (carefully, in case it was lead-based); hours of sanding; and to cap it off, four coats of marine-grade polyurethane. Each coat took about half an hour, so I did them over the course of a week in my lunch breaks, hanging the boards up by the bolt holes to dry in between each coat.
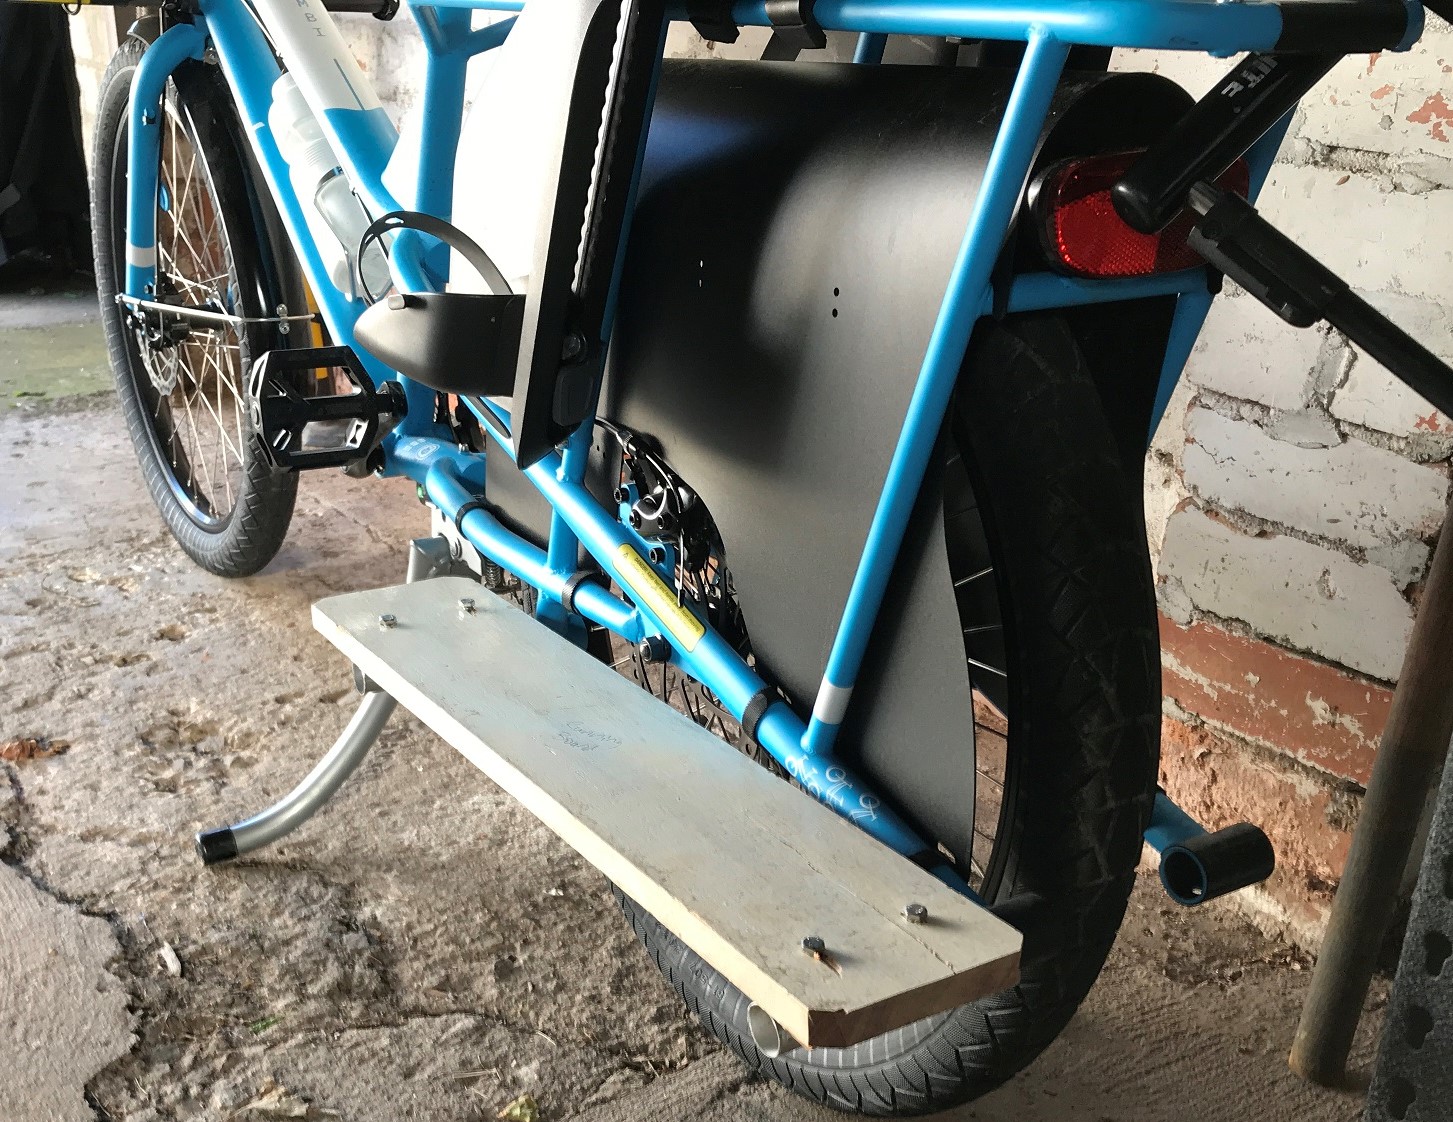
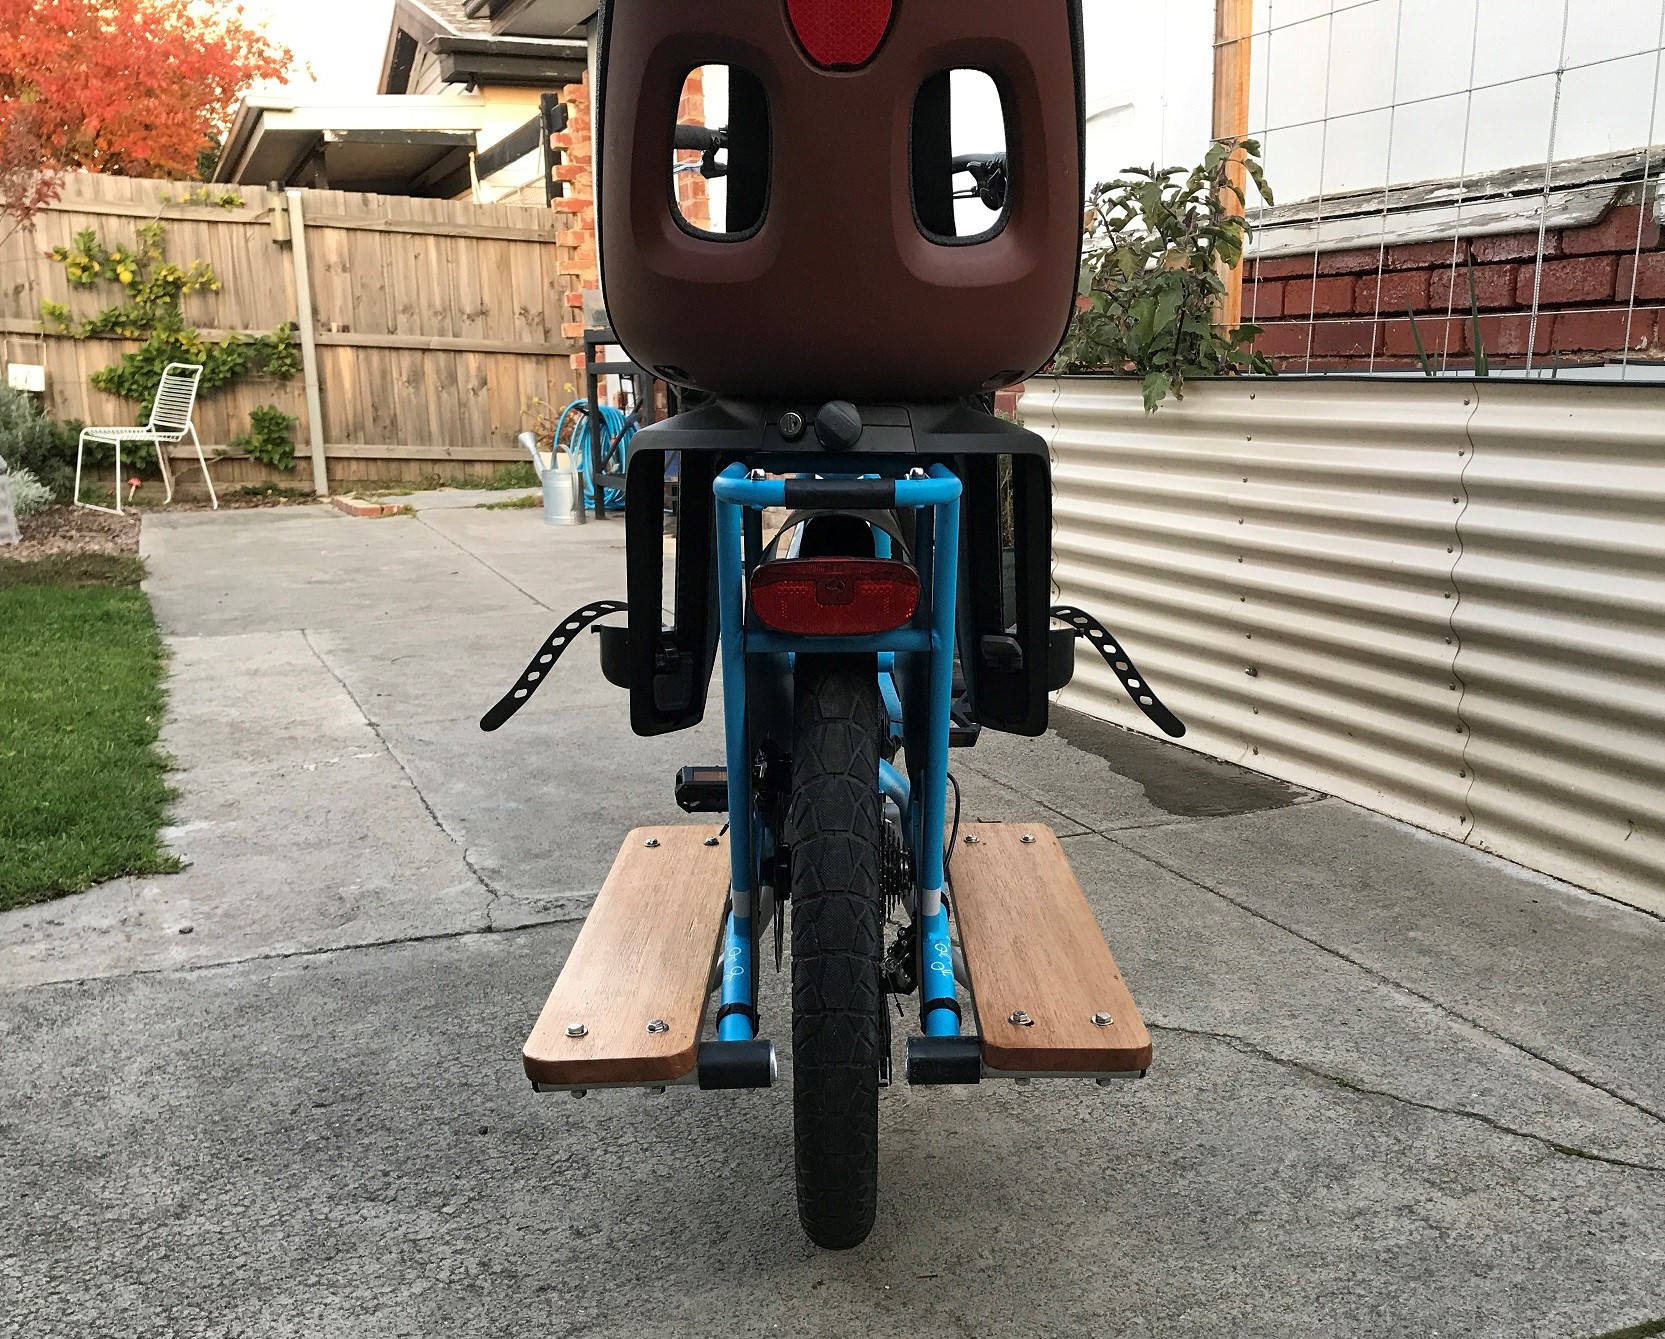
Finally, assembly day! Not shown here: I had to widen a few of the holes on the boards, to give me enough wiggle-room to bolt them onto the tubes. Just a little bit. Also, I bought mismatched bolts - half round-head, half hex-head - but they don't look too obvious. The bolts, washers, and nuts are stainless steel, so that they don't corrode in the rain or react with the aluminium tubes.
And there you have it! I'm really happy with how they turned out. The total cost was something like $50 in materials. Half of that was the polyurethane varnish, which I'll use for other projects. I probably spent about another $50 on random bits and pieces like clamps and sandpaper, most of which will be used again. Anyway, let's say I saved about half the price of the bought ones.
What to do next?
Our kid has almost outgrown the child seat already - so when I take the bike in for its first service I'll be swapping the child seat for some monkey bars. Before then I'll need to DIY the wooden deck and removable cushions. Of course, I've already bought most of the parts for this, and I think it'll turn out to be a bigger saving - maybe $30 instead of $210. More to come.
And the next big thing after that might be going electric! I found it a bit daunting to pay for an electric version of the bike before figuring out if it was really necessary. After doing some big rides, I'm coming to the conclusion that it's not strictly necessary, but it will make our lives easier! One of the primary schools we're checking out for next year is a 15 minute ride away, across some gnarly hills. So I'm going to do a bunch of reading and YouTubing about electric conversions, and then if we sell the car, we might put the money towards a conversion kit and have a go at installing it ourselves.